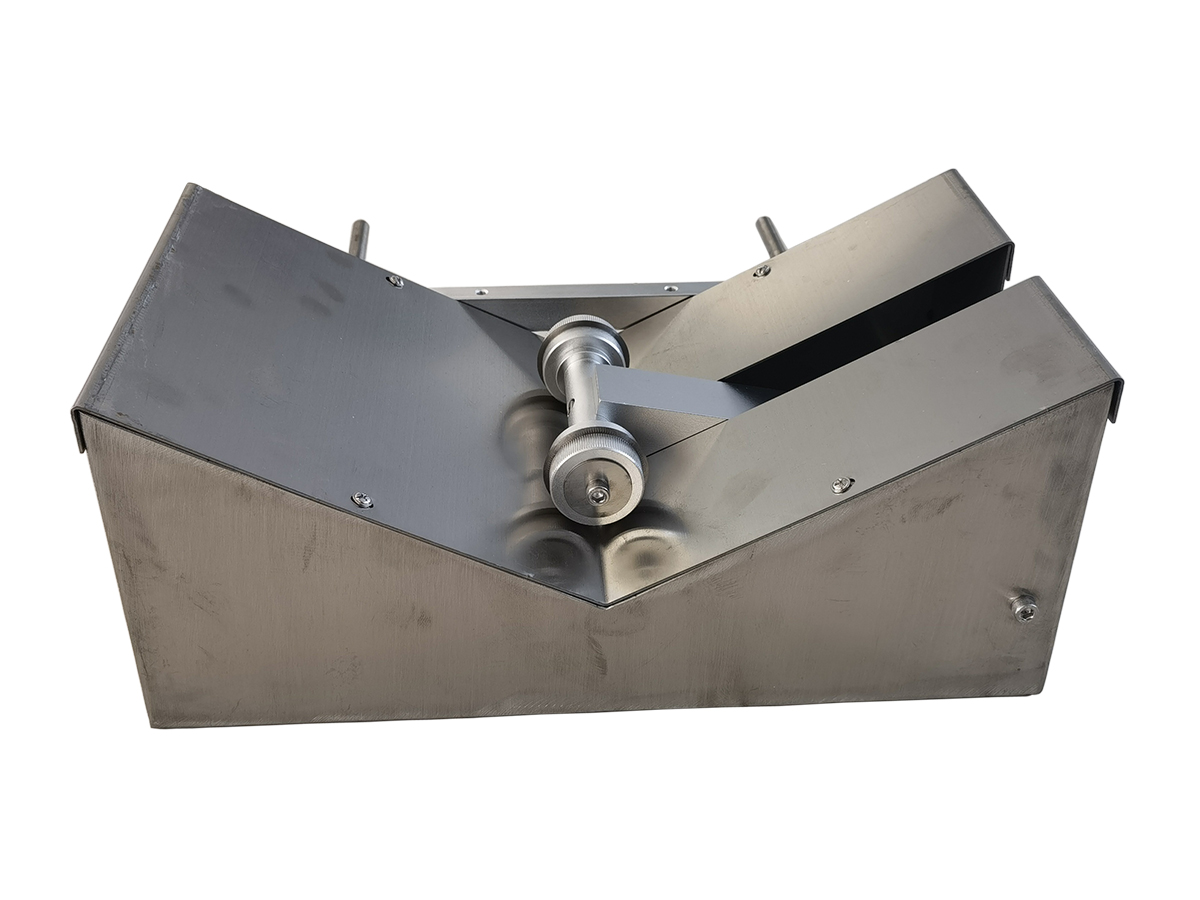
Pipe scriber
First, overview
The longitudinal retraction rate is an important indicator of the performance of plastic pipe products. It reflects the stability of plastic pipe products along the longitudinal plastic changes under the influence of heat. Its determination is of great significance to improve the product's ability to withstand the influence of temperature changes, sunshine and other heat sources during use, and to improve the service life of the product. However, due to the diversity of longitudinal retraction measurement methods, we are often due to improper operation in the detection, or do not pay attention to the essentials, thus affecting the accuracy of the detection.
Second, pipe scriber scope of application:
According to the "GBT 6671-2001 thermoplastic pipe longitudinal shrinkage measurement" to do the measurement of plastic pipe longitudinal shrinkage.
Third, the use of pipe scriber:
The standard sample to be drawn is placed on two rollers, adjust the distance between the two brushes to 100mm, one of the brushes is 10mm from one end of the tube, and then turn the handwheel, you can draw two closed circular lines with an equal distance of 100mm on the surface of the sample (this length is the distance between the two lines before the experiment L0). The pre-treated sample is placed in the oven according to the standard requirements of heating and cooling and test the pipe two line spacing is L
Fourth, technical parameters:
- Blade thickness: 2mm
- Blade roller spacing: 100mm±1mm
- Net weight: 9KG
- Gross weight: 11.25KG
Fifth, pipe scriber test results processing:
Longitudinal retraction rate T=︳L0-L︳/ L0X100
Note: We give each section of the sample to draw two circular lines 100mm apart, and the distance between the line from either end of the sample at least 10mm. After the line is drawn, we should measure it again and use the measurement result as the original standard distance. Set the oven to the required 150℃, when the oven reaches the specified temperature, we put in the prepared sample. Measure again and use the measurement result as the original scale. Set the oven to the required 150℃, when the oven reaches the specified temperature, we put in the prepared sample. What should be noted here is that after we put the sample into the oven, the oven should return to the set temperature within 15min. Therefore, we should not put the sample too much, which should be within the range that the oven can bear, and the action should be slightly faster, so as not to reduce the temperature in the oven too much. There are two ways to place the sample here: the first kind of hanging sample, hang the test in the oven, the suspension point should be at the farthest end of the line, and the sample should not touch the bottom and wall of the oven. In the second way, the test specimen should be placed on a flat plate with a layer of talcum powder and then placed in the oven. Here two sets of samples are hung in the oven for heating, and the other two sets are placed flat in the oven for heating. Turn off the oven and start counting when the oven temperature rises to 150℃. Let it stand for 60 minutes as required. After 60 minutes, we take the samples out of the oven and place the two sets of hanging samples, one on a smooth wooden counter and the other on a smooth granite counter. The other two sets were similarly placed on separate surfaces. When the sample is completely cooled to (23±2) ℃, we measure the maximum or minimum distance between the marks. Here we should make several measurements, choose the value where li changes the most from the original mark distance, and then calculate.


 冀公網(wǎng)安備 13080502000095號


